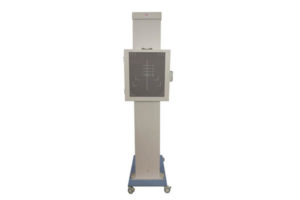
Side-mount bucky stand installation and precautions
Recently, due to the worsening of the epidemic situation, many customers are consulting mobile vertical bucky stand and chest film stand. Earlier we have introduced some of the parameters and conditions of the side-mounted bucky stand and how to use it. Today, I will tell you about the installation method.
Due to the simple installation method, on-site installation will incur unnecessary costs, so in this article, let’s take a look at the installation method of the side-mounted bucky stand. Many customers want us to go to the door to install, but in fact, it is not necessary. You can learn by reading our explanation below.
Installation: Place the device on a flat and hard surface 180cm away from the tube, so that the vertical center of the camera box coincides with the center of the tube. After adjustment is correct, align the center of the four φ8.5 through holes at the bottom of the device column. Use an electric hammer to drill holes and install four M8 expansion screws, and then tighten them; after the adjustment is correct, you can shoot at this time.
Precautions for the side-mounted chest film rack:
When installing, try to keep the coincidence degree between the vertical center of the film box and the tube, otherwise there will be a phenomenon that one side is bright and the other is dark; 2. Ensure that the convergence distance is about 180cm to maintain the sharpness of the film;
If you think this side mount bucky stand is very suitable, remember to contact us!
