DR Buck Stand Not Moving Up or Down? 6 Common Causes & Troubleshooting Guide
Author:
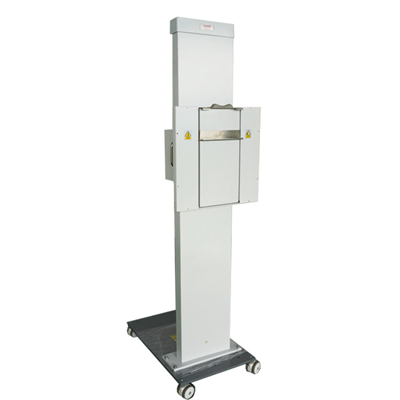
A DR Buck Stand (or upright chest stand) is a cornerstone of any radiographic room, but when the lift mechanism fails, it can bring your entire workflow to a halt. If your DR bucky stand won’t move up or down, the issue typically stems from power supply faults, motor failure, mechanical obstructions, control circuit errors, or sensor malfunctions.
This guide provides a systematic approach to diagnosing the problem and outlines essential maintenance practices to keep your equipment running smoothly.
1. Power Supply & Electrical Issues
Before assuming a major mechanical failure, check the basics.
- Power Connection: Ensure the unit is plugged in, the main switch is on, and the outlet is functioning correctly. Verify that the input voltage matches the manufacturer’s requirements (typically 220V/50Hz). Voltage fluctuations can prevent the motor from starting.
- Circuit Protection: Check the facility’s distribution box and the device’s internal fuse box. A tripped circuit breaker or blown fuse is a common culprit. Replace fuses only with ones of the exact specified rating.
2. Mechanical Drive System Failure
If power is present but movement is absent or labored, inspect the physical components.
- Motor Failure: The lifting motor can wear out over time. Listen for unusual sounds: a humming noise with no movement may indicate a burned-out coil, while grinding suggests worn carbon brushes or internal damage.
- Drive Mechanism Obstruction:
- Belts/Gears: Inspect drive belts for slackness or breakage. Check gears for stripped teeth or lack of lubrication.
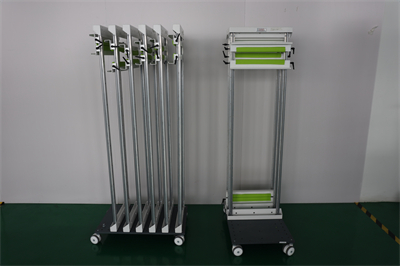
- Lead Screw/Guide Rails: Dust accumulation or dried-out grease on the lead screw or linear rails is a primary cause of “sticky” movement. Clean the components thoroughly and apply a manufacturer-approved specialty lubricant.
3. Control Circuit & Sensor Errors
Modern bucky stands rely on electronic controls to manage movement.
- Control Panel/Keypad: Buttons can fail due to wear or internal connection issues. Use a multimeter to test for continuity if a specific button is unresponsive.
- Faulty Limit Switches: These sensors (either photoelectric or mechanical) tell the system when the bucky tray has reached its upper or lower limits. If a sensor is dirty, misaligned, or defective, the safety logic will prevent the motor from running to avoid a collision. Clean the sensors and check their alignment.
4. Operational Settings & Software Glitches
Sometimes, the issue isn’t hardware, but software or user settings.
- Operational Lockout: Many systems lock the vertical movement during exposure preparation or when specific “Tube-Ahead” modes are active. Ensure you are following the correct operational sequence.
- System Reboot: A temporary software freeze can disable functions. Turn off the device, wait 5–10 minutes to allow capacitors to discharge, and restart. If available, check for firmware updates from the manufacturer.
5. Emergency & Temporary Measures
While waiting for a service engineer, you may need to move the stand.
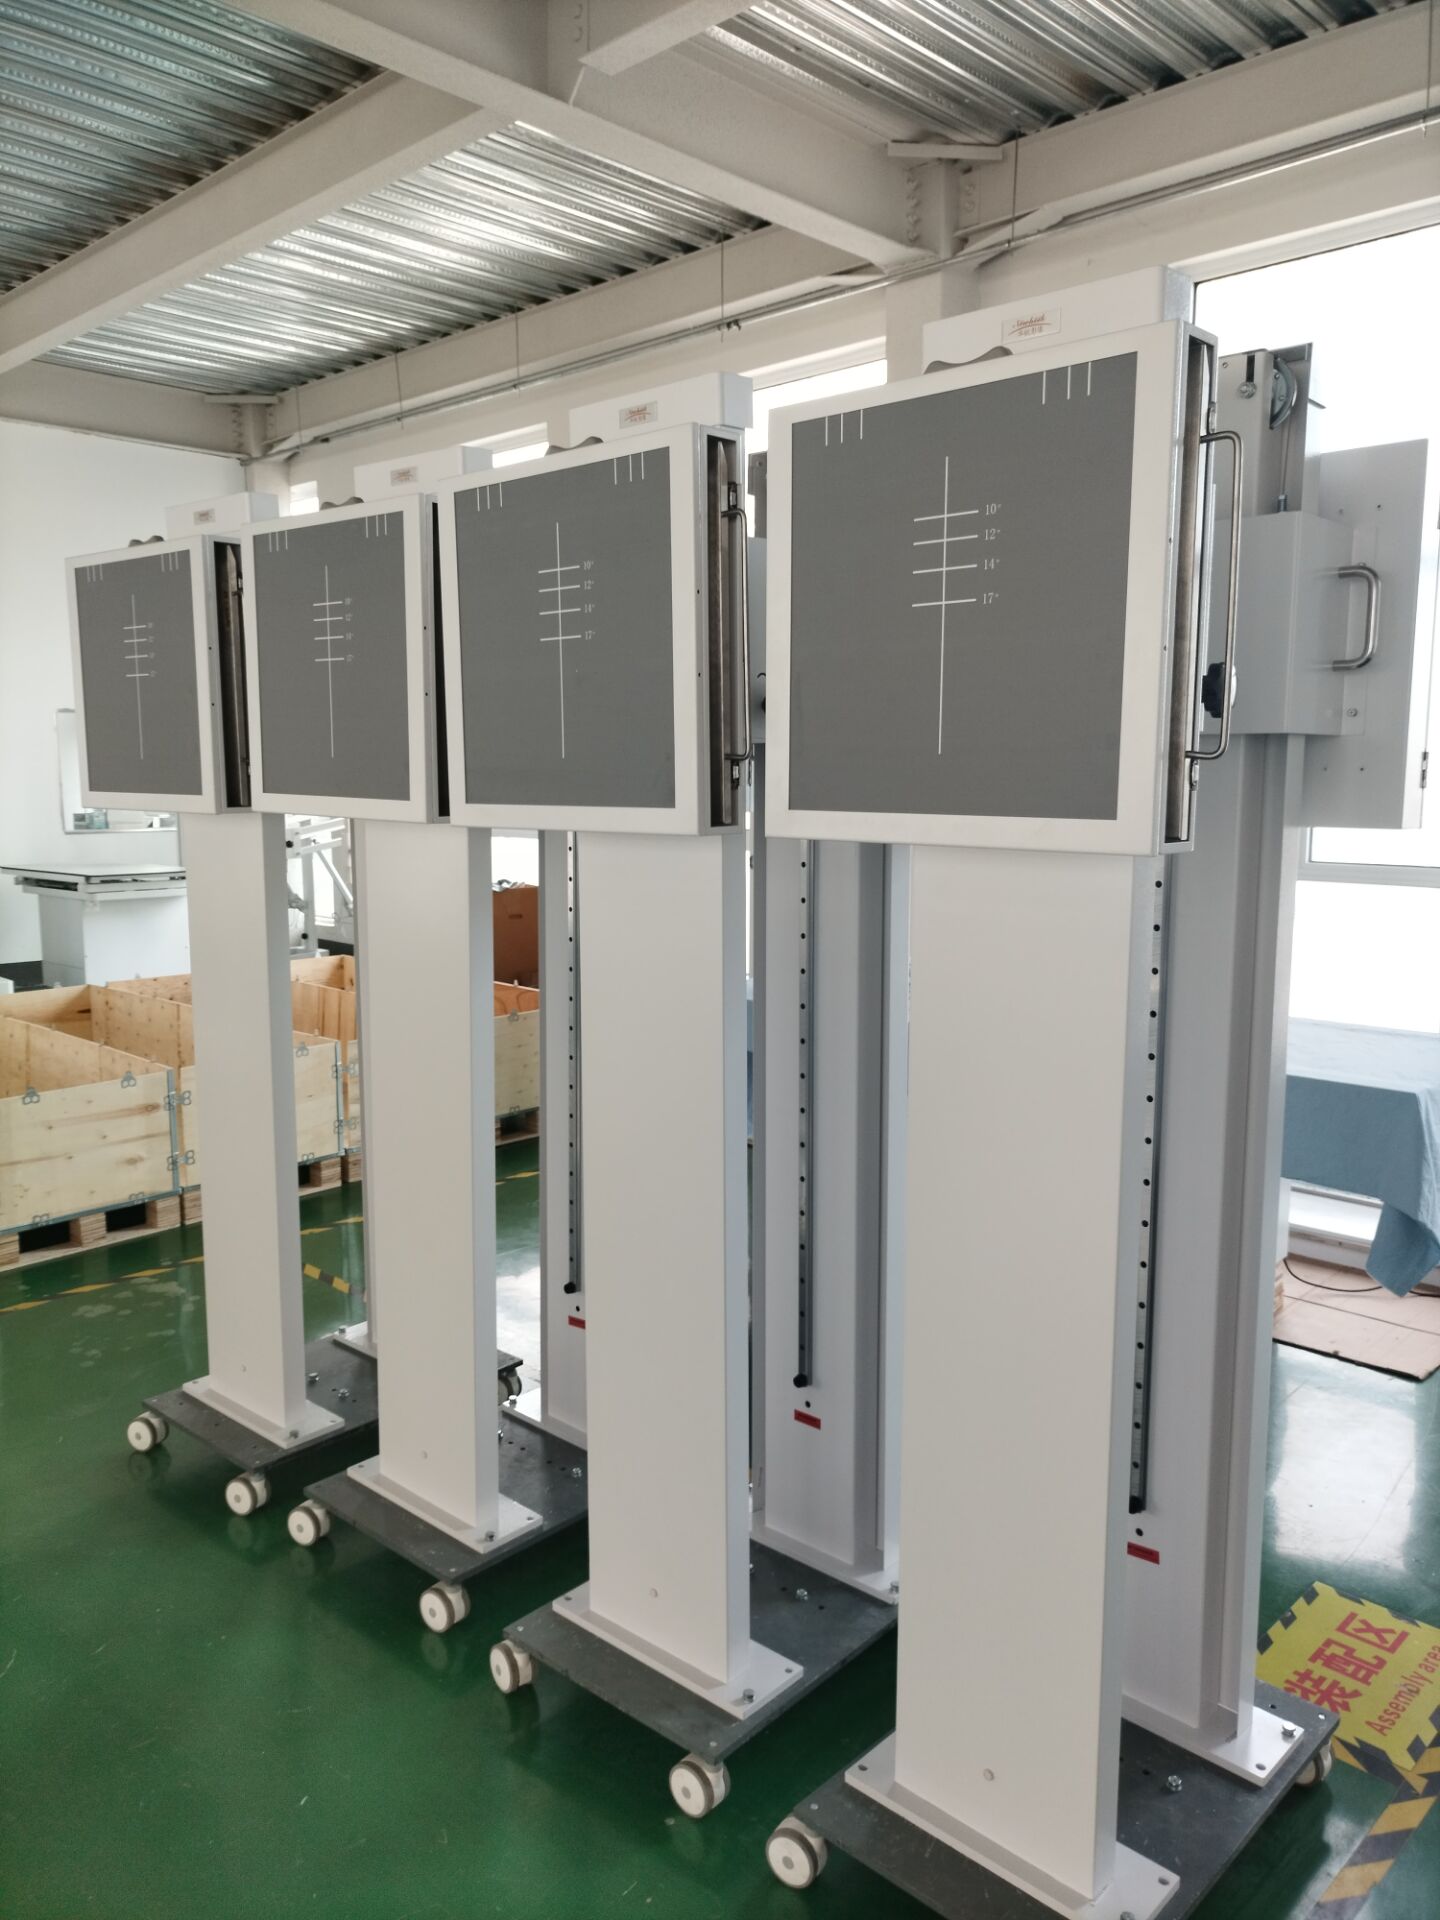
- Manual Override: Most DR bucky stands are equipped with a manual crank or release lever. Engage this to move the tray vertically by hand. If manual movement is smooth, the issue is almost certainly electrical (motor or control board).
- Do Not Force: If you hear grinding or feel significant resistance during manual movement, stop immediately to prevent further damage to the gears or lead screw.
6. Maintenance & Prevention
Preventative care is the best way to avoid unexpected downtime.
- Scheduled PM: Perform bi-annual maintenance. Clean the tracks and lead screws, re-grease moving parts, and check all electrical connections for tightness.
- Environment Control: Keep the radiology room dry and climate-controlled. Excess humidity and heat accelerate the degradation of electronic components and lubricants.
- Professional Service: If the troubleshooting steps above do not resolve the issue, contact the Original Equipment Manufacturer (OEM) or a qualified biomedical service provider. Do not attempt to open high-voltage cabinets or disassemble sealed motor units unless you are certified.
By systematically checking these six areas, most bucky stand issues can be identified quickly. Remember, for complex medical equipment, adherence to a strict maintenance schedule is the key to long-term reliability and patient safety.
